Installing the server
This page walks you through installing the Bor server from distribution
packages: downloading and checking the package, preparing PostgreSQL,
installing bor-server, what the package does for you, capturing the
initial administrator password, connecting to a local or remote database,
setting the server's host name, choosing the web port, opening the
firewall, starting the service and logging in for the first time.
If you only want a test setup, the Quick start covers the same steps in condensed form.
Overview
- Check the requirements.
- Download the
bor-serverpackage for your distribution. - Install and start PostgreSQL.
- Install
bor-server. The package creates the database, a JWT secret and an initial admin password. - Set
server.hostnamesin/etc/bor/server.yaml. - Choose the web port: the default is 8443, production installations should use 443.
- Open the web port (443) and the agent policy port (8444).
- Enable and start
bor-server. - Log in at
https://bor.example.com, change the admin password and enable multi-factor authentication.
Step 1: Download the package
Download bor-server for your distribution and CPU architecture from the
GitHub releases page or from
getbor.dev/download. Release tags have the
form vX.Y.Z; the version inside the file names has no v.
| Distribution family | File name pattern (amd64 example) |
|---|---|
| Debian / Ubuntu | bor-server_VERSION_amd64.deb (arm64, ppc64el) |
| RHEL / Fedora / Rocky / Alma, openSUSE / SLES | bor-server-VERSION-1.x86_64.rpm (aarch64, ppc64le) |
| Alpine | bor-server_VERSION_x86_64.apk (aarch64, ppc64le) |
| Arch Linux | bor-server-VERSION-1-x86_64.pkg.tar.zst (aarch64, ppc64le) |
Check the release page for the exact file names. For example, on a Debian server:
VERSION=X.Y.Z     # the release you are installing, without the leading "v"
curl -fLO "https://github.com/VuteTech/Bor/releases/download/v${VERSION}/bor-server_${VERSION}_amd64.deb"
Verify the download
Compute the SHA-256 checksum of the file and compare it with the digest shown for the same asset on the GitHub release page:
Do not install the package if the values differ.
Agent packages are included
The bor-server package contains the matching bor-agent packages for
all supported platforms and serves them as a package repository at
https://bor.example.com/agent/. You do not need to download agent
packages separately. See Installing the agent.
Step 2: Install PostgreSQL
Install and start PostgreSQL before installing bor-server. The
package's installation script creates the bor database role and database
only when it finds a running local PostgreSQL. If PostgreSQL is not running
at that moment, the script prints manual instructions instead and you have
to create the database yourself.
If you plan to use a remote PostgreSQL server, you can skip the local
database on the Bor host, but note that the packages still depend on the
PostgreSQL server package. Continue with
Use a remote PostgreSQL server after
installing bor-server.
The Debian package creates a database cluster and starts it automatically. Check that it runs:
sudo dnf install postgresql-server
sudo postgresql-setup --initdb
sudo systemctl enable --now postgresql
On RHEL-family systems the PostgreSQL package does not create a cluster
on its own. You must run postgresql-setup --initdb and start the
service before installing bor-server, otherwise the database setup
in the next step is skipped.
The openSUSE service initializes the database cluster on its first start.
Check that the database accepts local connections before you continue:
Step 3: Install bor-server
Install the downloaded file with your package manager. The package pulls in its dependencies automatically.
Use the ./ prefix so apt installs the local file instead of looking
for a package in the configured repositories.
--allow-unsigned-rpm is needed because the downloaded package file is
not signed with an RPM key that zypper knows. Verify the checksum as
described in Step 1 first.
--allow-untrusted is needed because the package is not signed with an
Alpine repository key. Verify the checksum first.
No OpenRC service is shipped
The package installs only a systemd unit. On Alpine you have to create an OpenRC service yourself, see Step 8.
Watch the output of the installation. It contains the initial admin password and the result of the database setup.
What the package installs
| Path | Purpose |
|---|---|
/usr/bin/bor-server |
Server binary. |
/etc/bor/server.yaml |
Main configuration file, owned root:bor, mode 0640. Marked as a configuration file, so upgrades never overwrite your changes. |
/lib/systemd/system/bor-server.service |
systemd unit. Runs the server as user bor, reads the optional /etc/bor/server.env. |
/var/lib/bor/pki/ |
Internal CA and auto-generated TLS certificate (created on first start). |
/var/lib/bor/acme/ |
ACME certificate cache (only used when ACME is enabled). |
/usr/share/bor/agent-repo/ |
Agent packages and repositories served at /agent/. |
What the installation script does
On a fresh installation the script:
- Creates the system group and user
bor(home/var/lib/bor, no login shell). - Sets ownership and permissions on
/var/lib/bor/pki,/var/lib/bor/acme(bor:bor,0750) and/etc/bor/server.yaml(root:bor,0640). - Grants the binary the
cap_net_bind_servicecapability (whensetcapis available) so it can bind privileged ports if you configure them. - Replaces the placeholder
jwt_secretin/etc/bor/server.yamlwith a random 256-bit value. - Generates a random initial admin password, writes it as
security.admin_passwordin/etc/bor/server.yamland prints it. - Looks for a running local PostgreSQL. If it finds one, it creates the
role
bor(login, no password) and the databaseborowned by that role, and setsdatabase.hostinserver.yamlto the PostgreSQL socket directory it found. The server then connects over the Unix socket with peer authentication: the operating system userborlogs in as the database roleborwithout a password. - If PostgreSQL is not running or not installed, it prints instructions for creating the role and database manually.
- Reloads systemd.
The script does not enable or start bor-server. You do that after
reviewing the configuration.
Step 4: Save the initial admin password
The installer prints a block like this:
bor-server: ======================================================
bor-server:  Initial admin credentials
bor-server:    Username: admin
bor-server:    Password: 6e1c0b0f2d7a4c55a9f8e3b2c1d0a9f8
bor-server:  Change this password immediately after first login.
bor-server: ======================================================
If it scrolled away, read it from the configuration file:
How the password is used:
- The server creates the
adminaccount (role Super Admin) with this password on its first start, when the database contains no users yet. - Once any user exists, the setting is ignored.
- If
admin_passwordis empty and no users exist, the server generates a password itself and tries to write it to/var/lib/bor/initial_admin_password. The packaged systemd unit only allows writes to/var/lib/bor/pkiand/var/lib/bor/acme, so with the package keepadmin_passwordset until after the first successful start.
After you have logged in and changed the password (see
After the first login), delete the
admin_password line from /etc/bor/server.yaml. It is a plain-text secret
and is no longer needed.
Step 5: Configure the database and host name
Check the database settings
If the installer reported
bor-server: PostgreSQL role and database 'bor' configured., the database
is ready and /etc/bor/server.yaml already contains the right socket path:
database:
  host: "/var/run/postgresql"   # socket directory found by the installer
  port: 5432
  user: "bor"
  name: "bor"
  sslmode: "disable"
When host starts with /, it is treated as a Unix socket directory: the
port is ignored, no password is sent and TLS does not apply.
Otherwise continue with one of the next two sections.
Set up the database manually
Use this when PostgreSQL was not running during the installation.
- Start PostgreSQL (see Step 2).
-
Create the role and the database:
-
Make sure
database.hostin/etc/bor/server.yamlpoints to the PostgreSQL socket directory. It is/var/run/postgresqlon most distributions:
The default pg_hba.conf of Debian, Ubuntu, RHEL and Fedora allows local
socket connections with peer authentication, which is what the server
uses. If you changed it, make sure a local line allows peer for the
bor database and user.
Use a remote PostgreSQL server
To store Bor's data on a separate database server:
-
On the database server, create a role with a password and the database:
sudo -u postgres psql -c "CREATE ROLE bor LOGIN PASSWORD 'Use-A-Long-Random-Password';"
sudo -u postgres psql -c "CREATE DATABASE bor OWNER bor;"
Use a password without spaces or quote characters, because the server passes it in a libpq connection string.
-
Allow the Bor server to connect. In the database server's
pg_hba.conf, add a line for the Bor server's address and reload PostgreSQL:Make sure
listen_addressesinpostgresql.confincludes an address the Bor server can reach, and that TLS is enabled on the database server if you usehostssl. -
On the Bor server, edit the
databasesection of/etc/bor/server.yaml:database: host: "db.example.com" port: 5432 user: "bor" password: "Use-A-Long-Random-Password" name: "bor" sslmode: "require"sslmodeaccepts the usual libpq values (disable,require,verify-ca,verify-full). Use at leastrequirefor connections over the network. -
Optional: keep the password out of
server.yaml. Create/etc/bor/server.env, which the systemd unit reads if it exists. Environment variables take precedence overserver.yaml:sudo install -m 600 -o root -g root /dev/null /etc/bor/server.env echo 'DB_PASSWORD=Use-A-Long-Random-Password' | sudo tee /etc/bor/server.env >/dev/nullThen remove the
passwordline fromserver.yaml. -
Test the connection from the Bor server:
You can disable and remove the local PostgreSQL service on the Bor host once the remote database works. The package dependency stays installed.
Set the server host name
Agents and browsers verify the server certificate by name. Add every DNS
name and IP address that agents or users will use to reach the server to
server.hostnames in /etc/bor/server.yaml:
The auto-generated certificate always contains localhost, 127.0.0.1,
::1 and the system host name in addition to these entries. On each start
the server checks the existing certificate and regenerates it if a listed
name is missing. See Requirements for
why this matters for agents.
Other settings you may want to review now are described in Server configuration. If you want to use your own certificate or ACME instead of the internal CA, read TLS and certificates before you enroll agents.
Step 6: Choose the web port
The web port serves the web UI, the REST API, the agent package repository
(/agent/) and agent enrollment. It is set by server.enrollment_port
(environment variable BOR_ENROLLMENT_PORT). The default is 8443, which
is fine for a test setup. For production, use 443:
- Users open
https://bor.example.comwithout a port number, and the agent repository URLs in the Deploy agent wizard contain no port. - Corporate firewalls and outbound proxies usually allow 443 and often block other ports.
- With ACME enabled, the web port offers the
TLS-ALPN-01 challenge protocol. The ACME CA connects to port 443 for
this challenge, so TLS-ALPN-01 validation works only when the web port is
443 (or when port 443 is forwarded to it). The HTTP-01 challenge does not depend on the web port; it uses a
separate listener on
acme.http_port(default 80). - WebAuthn security keys work with the default origin
https://<rpid>, which implies port 443. On any other port you must list the origin with its port inwebauthn.origins(see Multi-factor authentication).
Decide before you enroll agents
Every agent stores the web port in /etc/bor/config.yaml
(server.enrollment_port) and must use the same port as the server.
Choose the port now, before you deploy the first agent.
Set the port
-
Check that nothing else listens on port 443, for example a web server such as Apache httpd or nginx installed on the same host:
The command prints only a header line when the port is free.
-
Edit
/etc/bor/server.yaml. The packaged file already contains the line; change its value:Alternatively set
BOR_ENROLLMENT_PORT=443in/etc/bor/server.env. An environment variable takes precedence overserver.yaml.
No extra privileges are needed. Ports below 1024 normally require root,
but the bor-server systemd unit grants the service the
CAP_NET_BIND_SERVICE capability (AmbientCapabilities), and the
package's installation script also sets this capability on
/usr/bin/bor-server with setcap. The server keeps running as the
unprivileged user bor. Without systemd (for example on Alpine), only the
setcap step applies, and the installation script skips it silently when
the setcap command is not installed. If the server then fails with
listen tcp :443: bind: permission denied, install setcap and run
sudo setcap 'cap_net_bind_service=+ep' /usr/bin/bor-server. The
installation script reapplies the capability on every upgrade once
setcap is available.
The agent policy port (server.policy_port, default 8444) is separate and
uses mutual TLS. You can change it as well, but there is no need to.
Change the port later
If agents are already enrolled when you change the web port:
- Change
server.enrollment_porton the server and restartbor-server. - Update the firewall (see Step 7).
- On every agent, set
server.enrollment_portin/etc/bor/config.yamlto the new port. Enrolled agents receive policies and renew their certificates on the policy port, so they keep working in the meantime; the agent uses the web port only when it enrolls or re-enrolls. - Update bookmarks, the agent repository URLs on endpoints
(
/etc/apt/sources.list.d/,/etc/yum.repos.d/, zypper repositories) and, if you use security keys,webauthn.origins.
Step 7: Open the firewall
Open the web port and the agent policy port. The examples use the
recommended port 443 (the https service in firewalld). If you kept the
default, open 8443 instead (--add-port=8443/tcp, ufw allow 8443/tcp):
If you changed server.policy_port, open that port instead of 8444. See
Requirements for all
ports, including the optional metrics and ACME ports.
Step 8: Start the server
The package does not include an OpenRC script. The following minimal
service is an example you can adapt; it is not shipped with Bor. Save it
as /etc/init.d/bor-server:
#!/sbin/openrc-run

name="bor-server"
description="Bor Policy Management Server"
command="/usr/bin/bor-server"
command_user="bor:bor"
command_background="yes"
pidfile="/run/${RC_SVCNAME}.pid"
output_log="/var/log/bor/server.log"
error_log="/var/log/bor/server.log"

depend() {
    need net
    after postgresql
}

start_pre() {
    checkpath --directory --owner bor:bor --mode 0750 /var/log/bor
}
Then enable and start it:
sudo chmod 755 /etc/init.d/bor-server
sudo rc-update add bor-server
sudo rc-service bor-server start
Environment variables that the systemd unit would read from
/etc/bor/server.env can be exported in /etc/conf.d/bor-server
instead.
On every start the server:
- Loads
/etc/bor/server.yamland applies environment variable overrides. - Creates the internal CA in
/var/lib/bor/pki/caon the first start. - Creates or refreshes the TLS certificate in
/var/lib/bor/pki/ui. - Connects to PostgreSQL and runs all pending database migrations automatically. There is no separate migration command.
- Creates the
adminaccount if no users exist. - Starts listening on the web port (443 in this example, default 8443)
and the policy port 8444, and on
127.0.0.1:9090for metrics.
Check the logs
A healthy start ends with lines like these (with enrollment_port: 443;
with the default the third line shows :8443):
Server certificate ready in /var/lib/bor/pki/ui
Agent package repo: serving N files, agent version X.Y.Z, signed=true
HTTPS + enrollment gRPC listening on :443
Agent policy gRPC (mTLS) listening on :8444
Metrics (Prometheus) listening on http://127.0.0.1:9090/metrics
Common start-up failures:
| Log message | Cause and fix |
|---|---|
Failed to connect to database: ... |
PostgreSQL is not running, the role or database does not exist, or database settings are wrong. Check Step 5. |
Failed to run database migrations: ... |
The bor role does not own the bor database or lacks privileges. Recreate the database with OWNER bor. |
could not persist the generated initial admin password ... |
admin_password is empty and no users exist. Set security.admin_password in server.yaml (or BOR_ADMIN_PASSWORD) and restart. |
JWT_SECRET is too short ... |
security.jwt_secret has fewer than 32 characters. Use a long random value. |
UI server error: listen tcp :443: bind: address already in use |
Another service, often a web server, uses the web port. Stop it or change server.enrollment_port. |
UI server error: listen tcp :443: bind: permission denied |
The process lacks CAP_NET_BIND_SERVICE. See Step 6. |
Metrics server error: listen tcp 127.0.0.1:9090: bind: address already in use |
Something else (often Prometheus itself) uses port 9090. Set metrics.listen_addr to a free address. |
More help: Troubleshooting.
Step 9: Log in for the first time
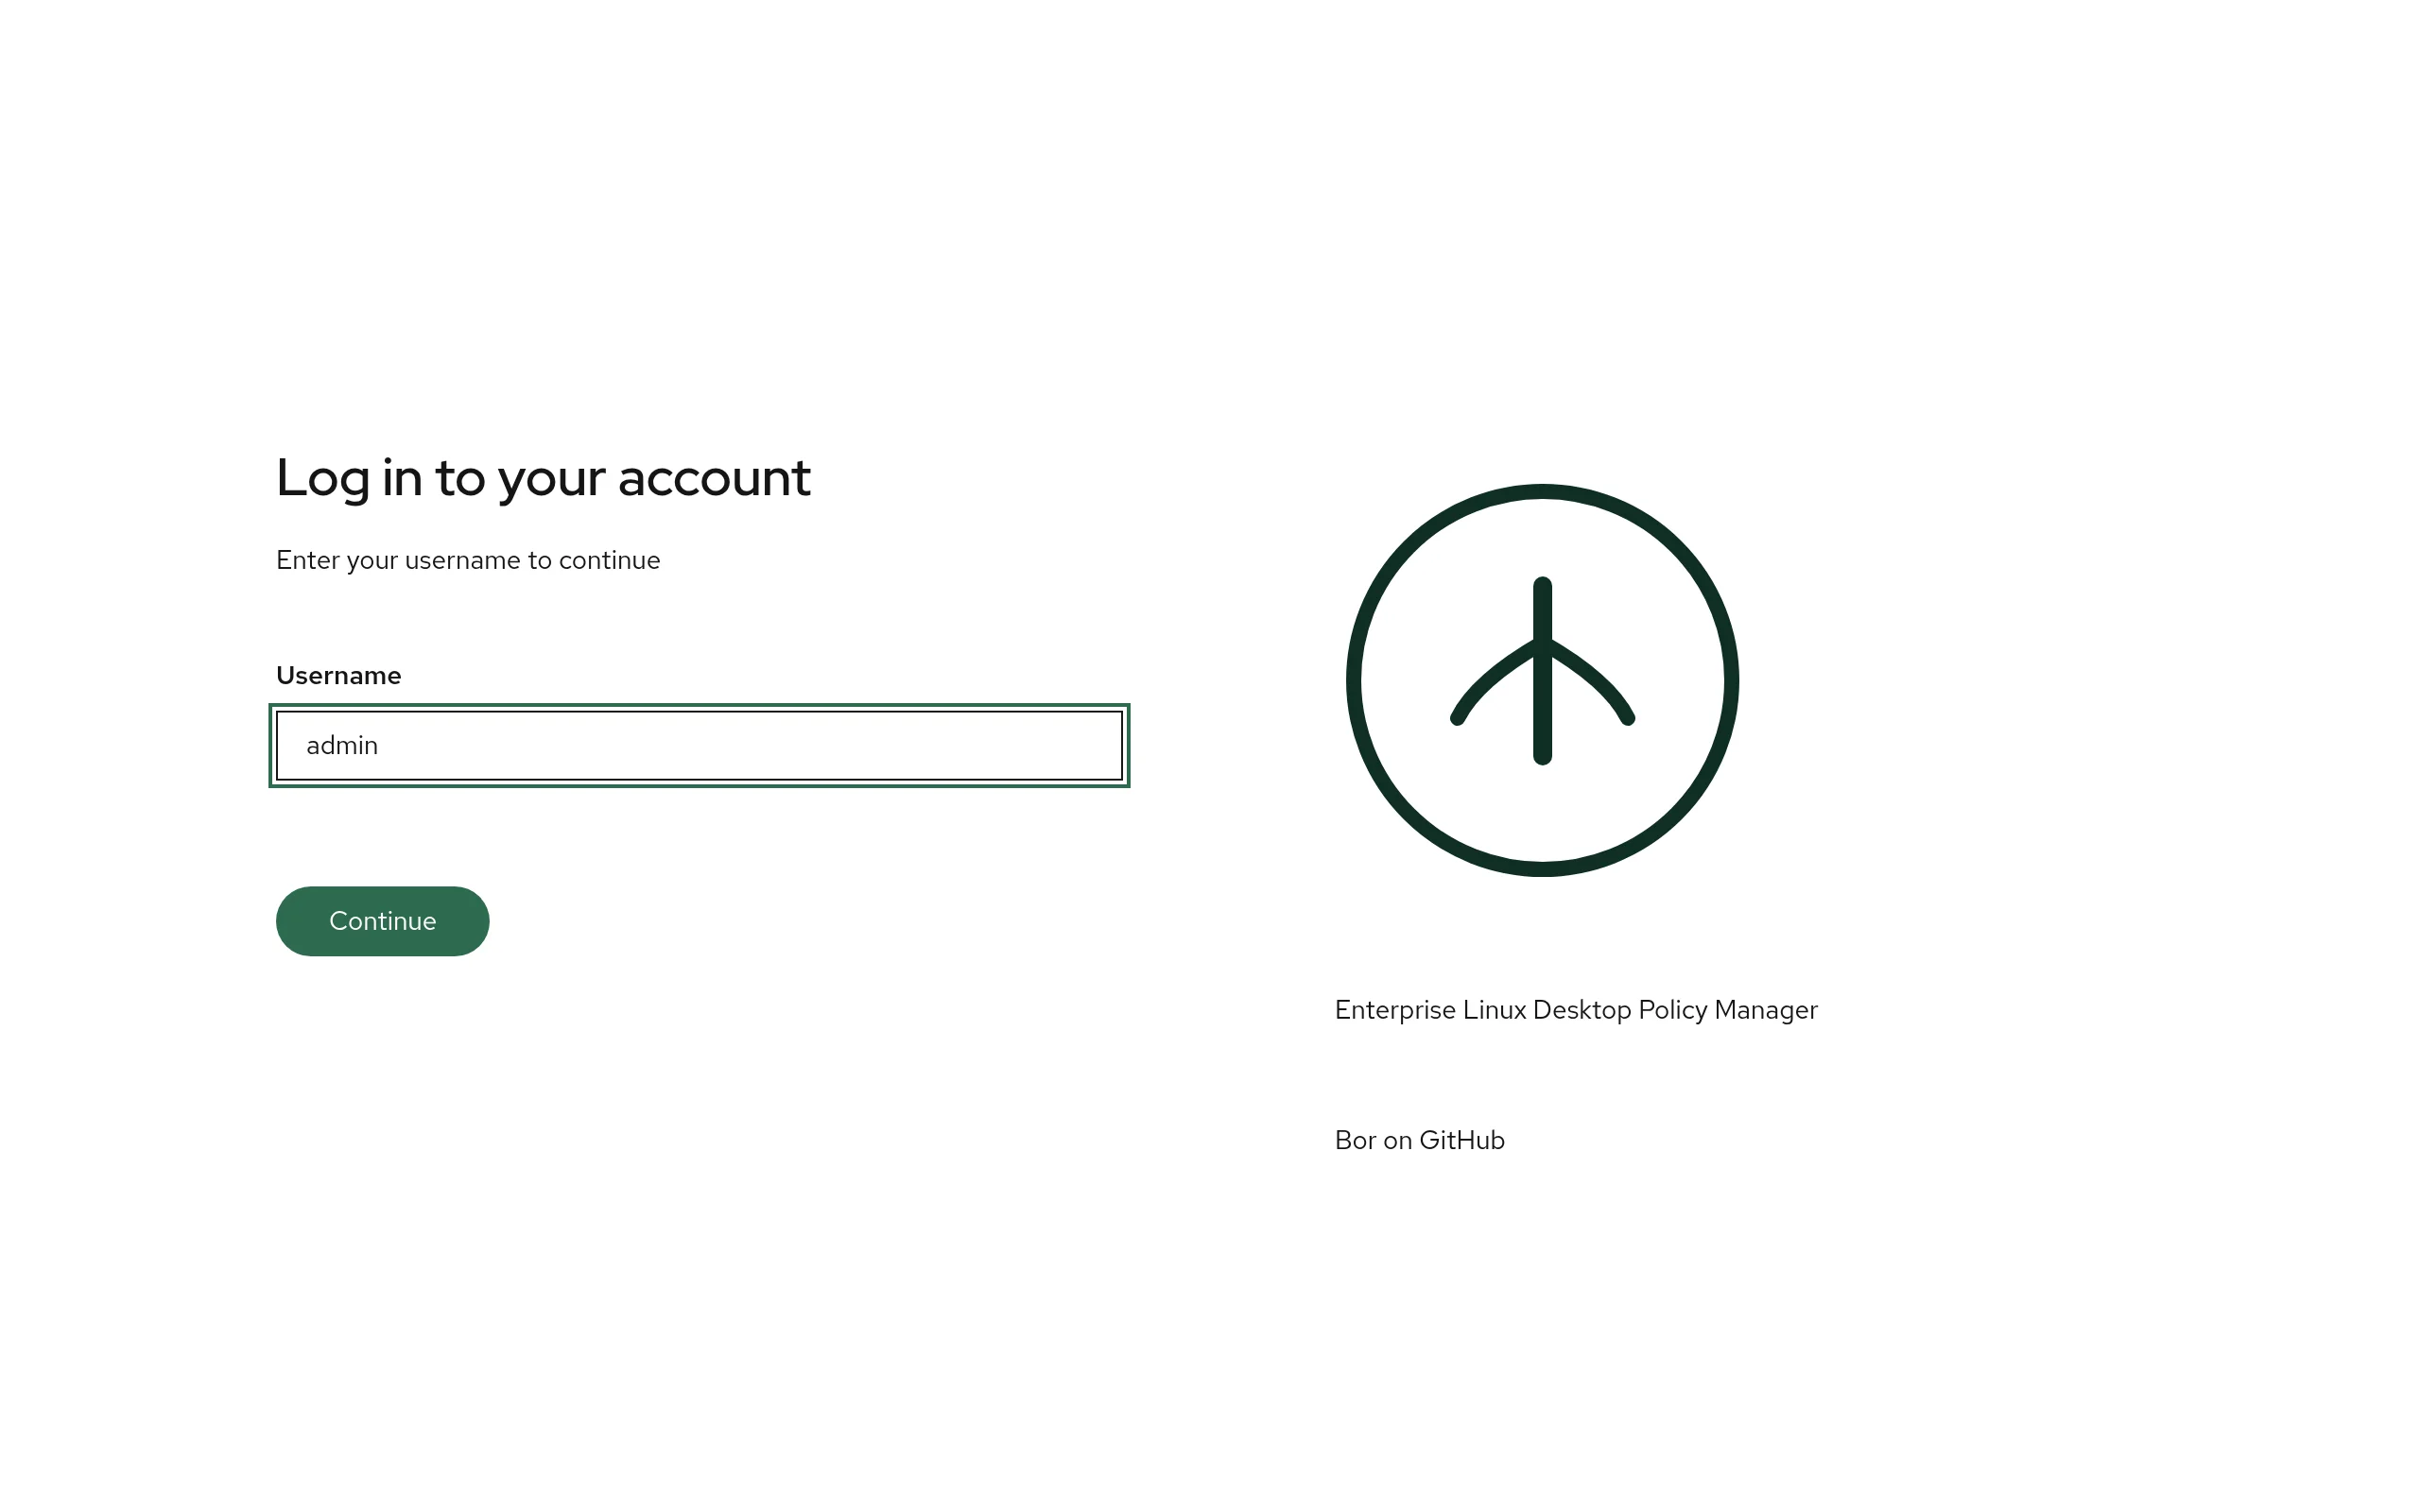
- Open
https://bor.example.comin your browser (add:8443if you kept the default port). - The browser warns that the certificate is not trusted, because it is issued by Bor's internal CA. Either accept the warning for this first visit, or trust the CA as described below.
- Enter
adminas Username and click Continue. - Enter the initial password and click Log in.
Trust the internal CA in your browser
The CA certificate is public and available from the server at
https://bor.example.com/agent/ca.crt. On the server it is stored at
/var/lib/bor/pki/ca/ca.crt.
-
Download it. The first download has to skip verification because the CA is not trusted yet; compare the fingerprint with the one on the server if you need assurance:
curl -fsSk -o bor-ca.crt https://bor.example.com/agent/ca.crt
openssl x509 -in bor-ca.crt -noout -fingerprint -sha256
On the server, run the same
opensslcommand against/var/lib/bor/pki/ca/ca.crt(as root) and compare. -
Import
bor-ca.crt:- into your browser's certificate manager as a trusted authority for websites, or
-
into the operating system trust store, for example on Fedora/RHEL:
or on Debian/Ubuntu:
To avoid browser warnings entirely, use a certificate from a CA your browsers already trust, or ACME. See TLS and certificates.
After the first login
Do these steps right away:
- Change the admin password. Open the user menu in the top-right corner, choose Account security, and use the Change Password tab. Passwords must be at least 12 characters long. Changing the password signs out all other sessions of the account.
- Remove the initial password from disk. Delete the
admin_passwordline from/etc/bor/server.yaml. - Enable multi-factor authentication for the admin account on the Security tab of the same dialog, and consider requiring it for all users. See Multi-factor authentication.
- Create personal accounts. Create named accounts (or connect
LDAP / Active Directory) and give them the
roles they need, instead of sharing
admin. See Users, groups and roles. - Decide on TLS. Keep the internal CA, install your own certificate or enable ACME. See TLS and certificates.
- Plan backups of the database and
/var/lib/bor/pki. See Backup and restore.
Then continue with Installing the agent.